Tuesday, February 25, 2014

Club Scrap Blog Hop: Big Deal

Hello!
You have arrived at Club Scrap's monthly blog hop
to show you what you can make with the papers
and stamps that arrive with the Club Scrap kit.
This month it is Big Deal:

It is all about cards and games.

But the first thing I made is a birthday card,
for today my youngest daughter has her 23rd birthday.
Happy Birthday, 
dear Zora,
I hope you have a wonderful day!
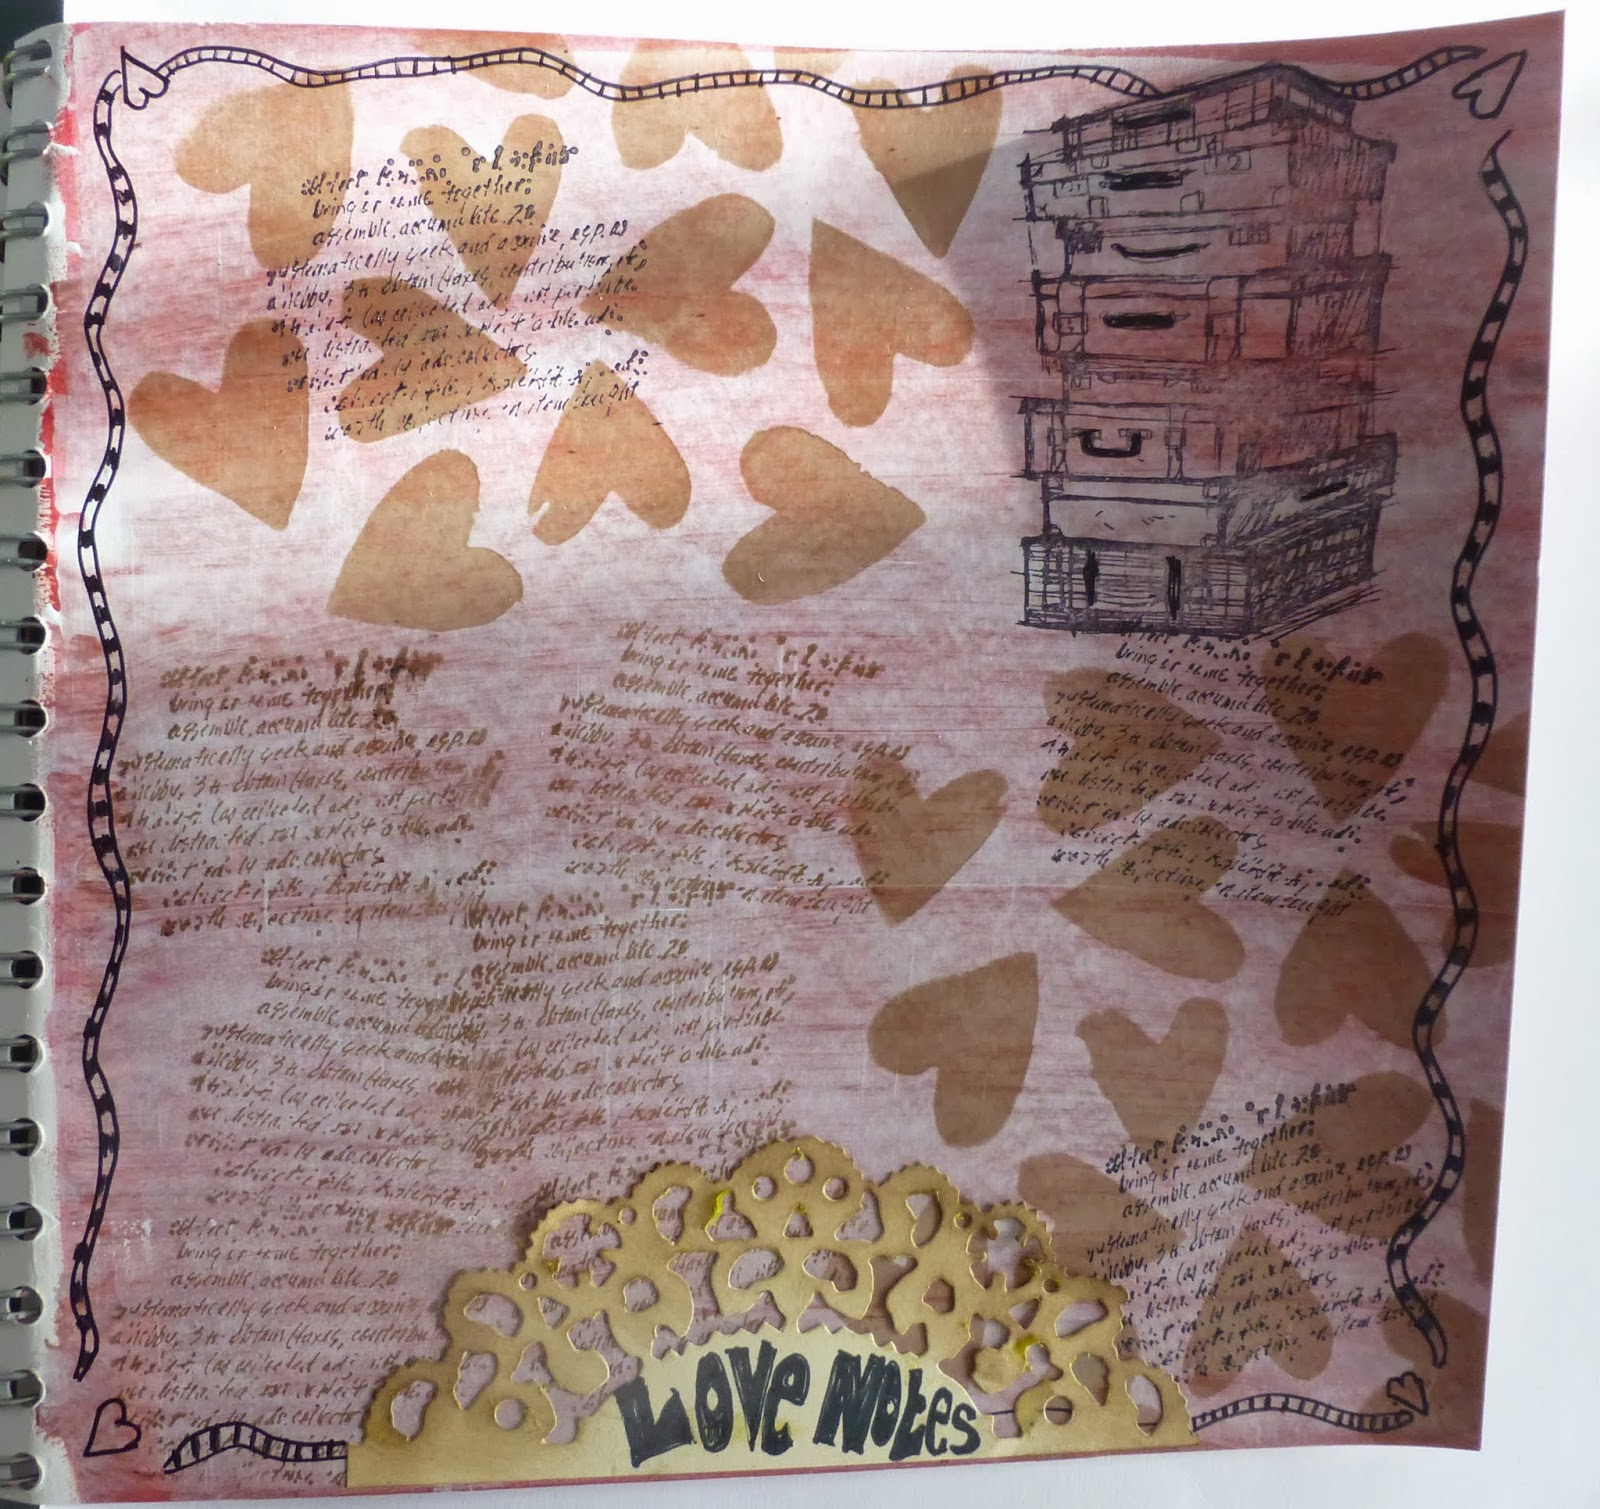
and of course i made a scrap page too. 
Sharing the picture I made yesterday,when I posted
Zora's birthday card with him and hopefully it arrives in time
(ps Zora,it is not this one ....)
The card is 5,5 x 4 1/4 inch from the 
yellow paper I had left from the scrapbook page below.
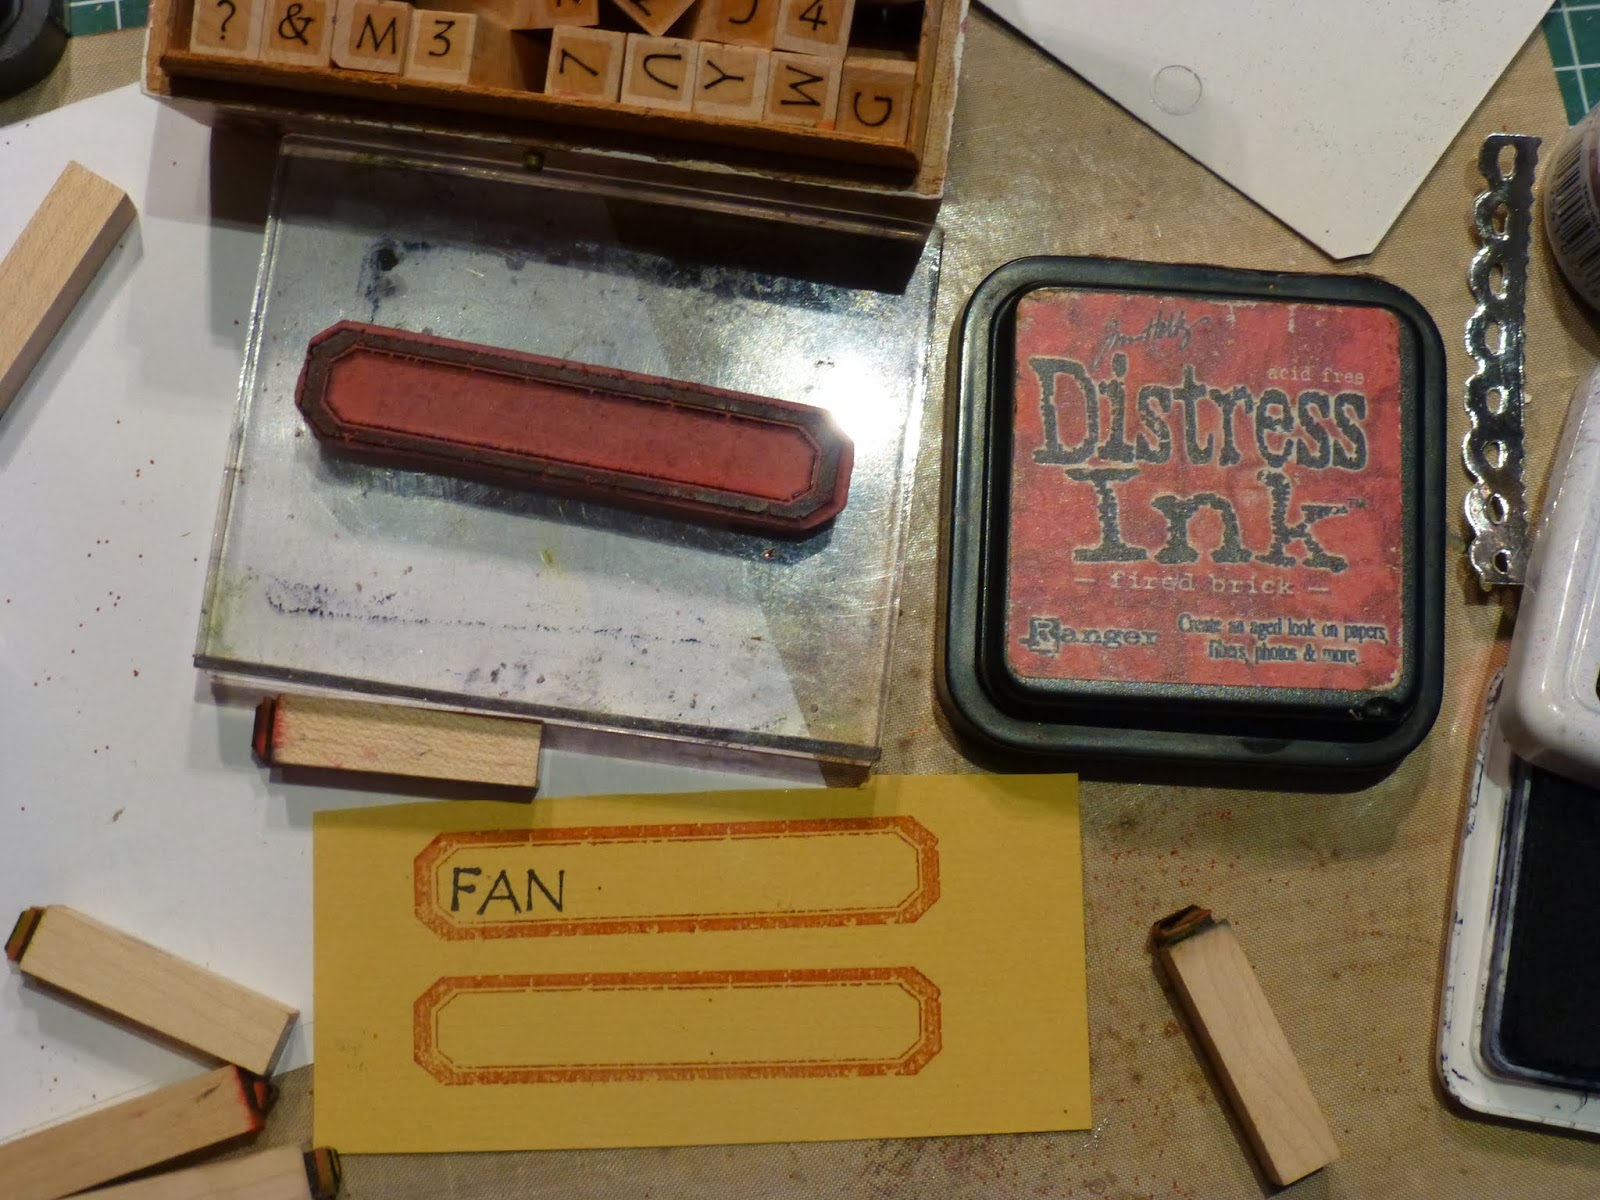
And for the background I stamped with Club Scrap
topaz ink and the card stamp from the Greetings
UM stamps (as well as the sentiment). By turning the stamp 
several ways I created a background.
The card is also a stamp, but from UM Borders
& Backgrounds. I used a cirle spellbinder to create
the opening for the picture. The crown is embossed
in silver and is from the Art Nouveau stamp sheet.
I just love to see the difference from when
she was young and how she is now.
The numbers I cut out of the
bingo unmounted stamps.

As for my project:
I love the gift box we have made at the
Retreat last year and as my MIL plays
bridge at least 3 times a week,I wanted to make
her a gift box with cards for her bridge -friends.

I made 4 cards and 6 little cards (for she never goes
without a little gift for the hostess and these gift
cards are easy to attach).

This is the finished box with all the cards.

So I choose some papers for the cards and the
gift tags first and cut them all to size.

I decided to make some easy stamped cards,no difficult
stamping techniques.

Here are the cads:
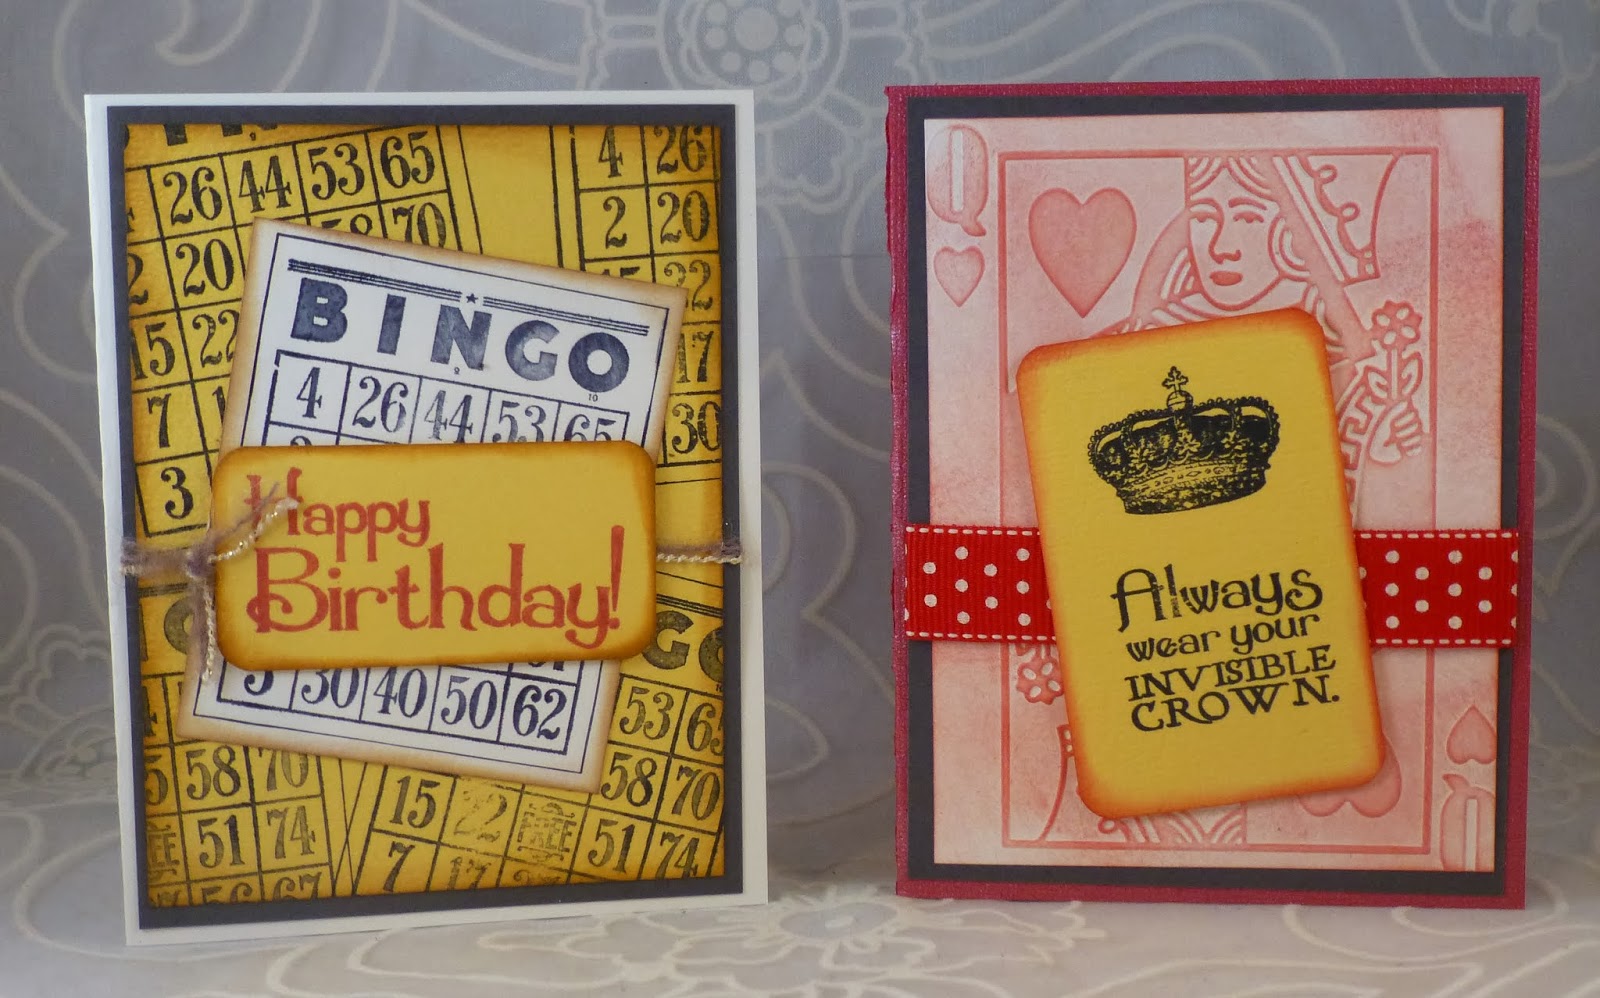
On the left card I used the bingo stamp from the UM art nouveau
sheet on the background and on the front. 
On the right card I used a queen playcard embossing folder
as a background. I used a blending toolwith topaz ink to
color the raised part of the paper.

All 4 large cards are 5,5 x 4 1/4 inch.

This background stamp on both cards is from the UM Big Deal
stampsheet and stamped in india black ink.
I used some red ribbons from my stash for a
little more color.

Here the gift tags:
All the gift cards are 2 1/4 x 2 1/4 inch.
I used some small wooden stamps fromvintage kits
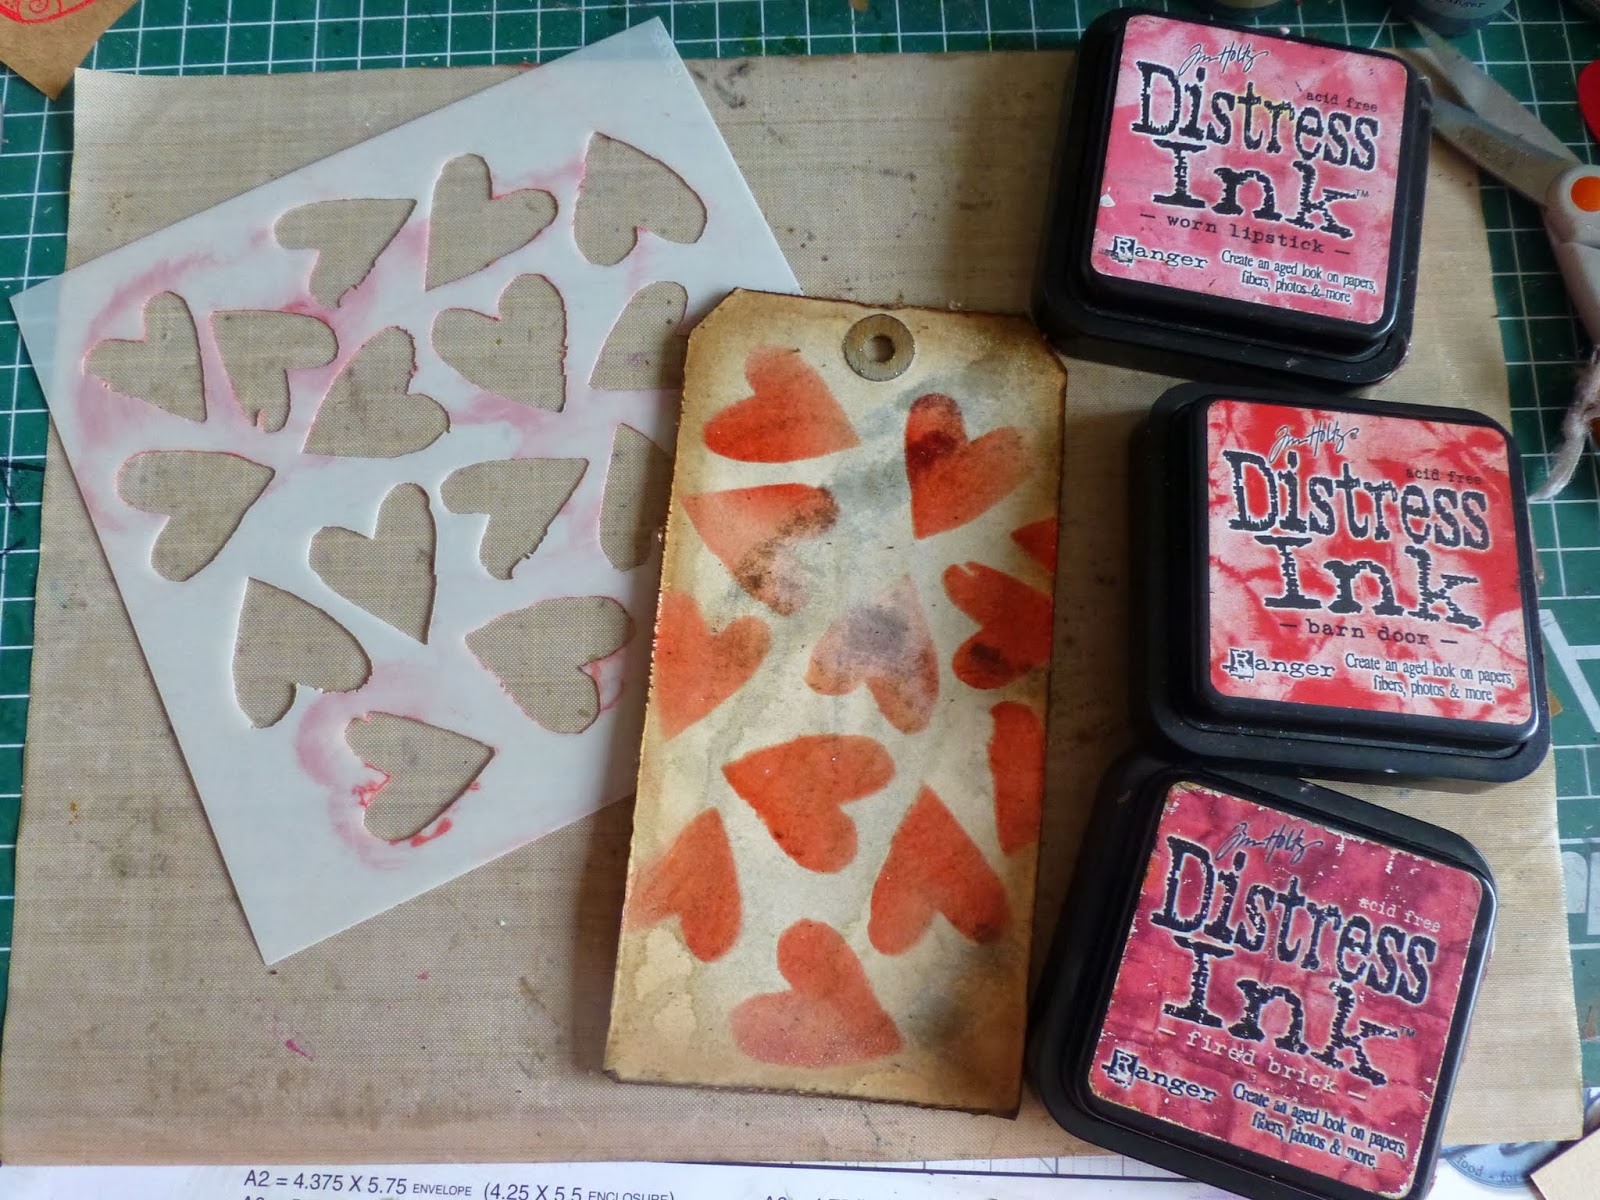
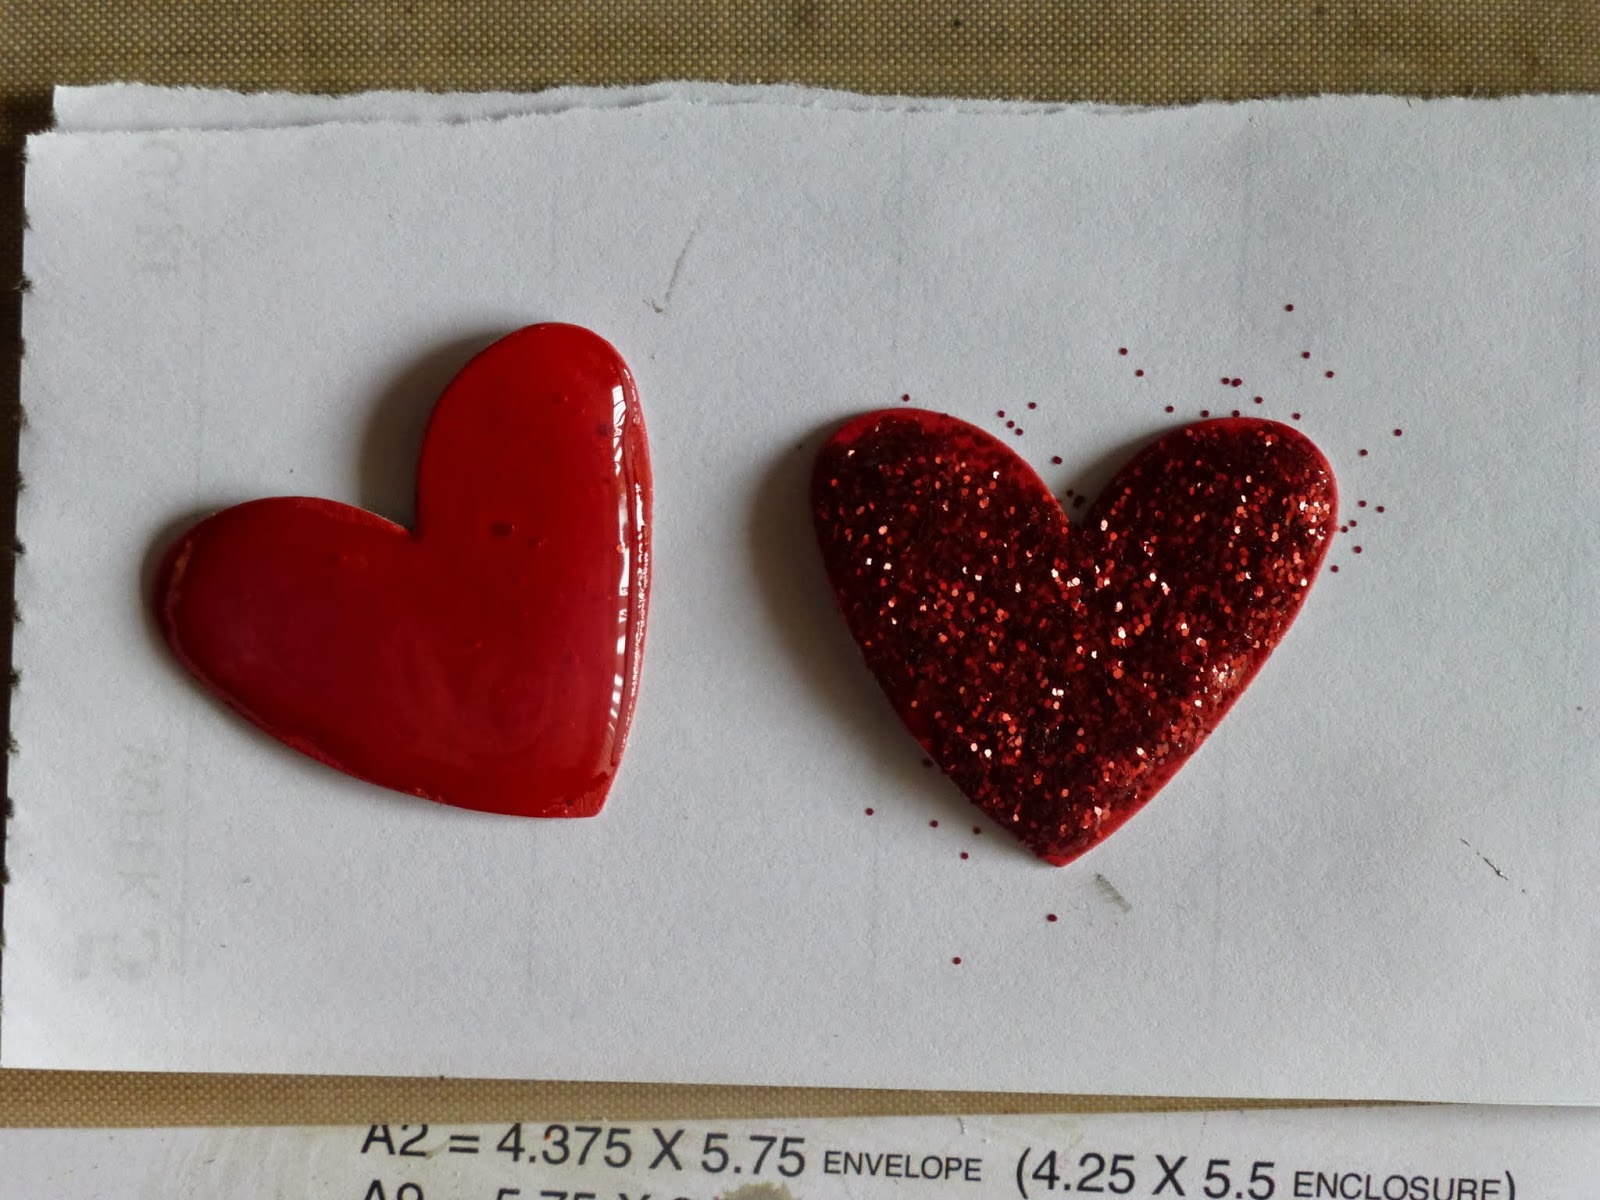
as sentiments. The big heart stamp is from the
UM Big Deal sheet.

For the background of these cards I stamped  the collage
stamp from the art nouveay sheet with versamark
and white embossing powder.
After heating it the background is colored with ash and 
topaz ink. The white embossing powder works as a resist
and gives a great background.

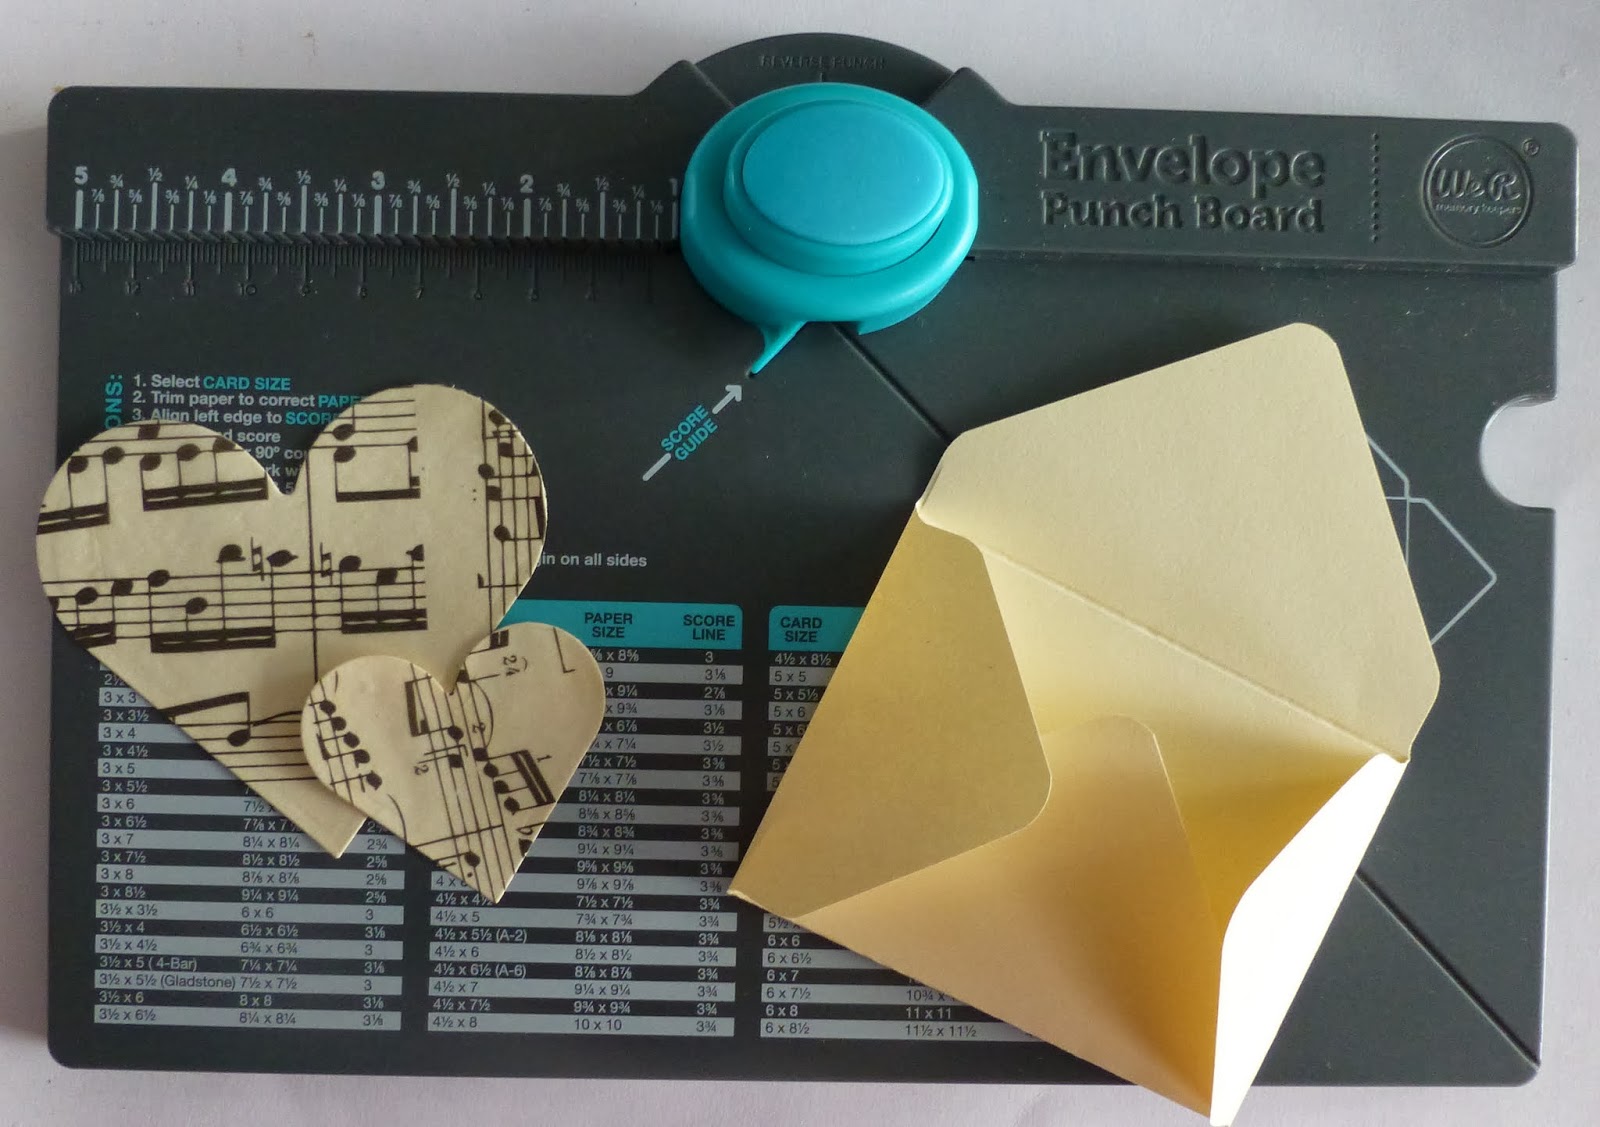
Tied the cards with enveloppes together
with a red ribbon and my gift set is ready.

Now if you get lost,you can always find yur way around 

and for more inspiration please
hop on to

Thanks for looking!

Have  creative day!


Sunday, February 23, 2014

Club Scrap Bootcamp: die cuts3


 These cards are made with Club Scrap's
Gratitude kit.


 The circle stamp is from Club Scrap Sorento,
but I forgot where the thank you stamp
came from (vintage kit,for it is a 
wood mounted stamp).

The flower stamps is embossed with 
pearlscent ivory embossing powder
and in the middle a pearl brad.


Club Scrap Bootcamp: die cuts 2

Here more cards with the use of die cuts.
These are made with 
Club Scrap's Birds of a Feather kit.


Background done with an embossing folder
and adding some distress ink. Birds are
made with a punch,sentiment is a die cut.

Background stamped with BOF stamp
and all the rest are die cuts.


Have a creative day!


Sunday Scrap page: Bootcamp week 3

We are in week 3 now at the
and the challenge is:
**use die cuts**

and the theme for the Weekly Chronicles
is Morning Glory.

I used this to make the page about Owen, who happily comes
running into my house every Tuesday morning to play
with the animals at my house. He opens the box and the
first things he gets out are the elephant and the hippo.
So for this page I used the Club Scrap Safari papers
and die cuts and Michael Strong's Elephant stamp.
Terrific Day is from the Tribal kit.


Thank you for looking and enjoy your Sunday!


Wednesday, February 19, 2014

Club Scrap Boot Camp: Torn Paper

Here two cards for Club Scraps Boot Camp
in the technique that Kay Williamson is sharing
with us on the Club Scrap Create Blog.

It is a technique with stencils, white paint and
ink. Have a look for her tutorial HERE.
For my cards I used Club Scrap Gratitude papers
and Mocha Java stamps.

For this card I used the Fizz stencil.
You see the torn paper just above the 
sentiment on both cards.
For this card I have used Tim Holtz coffee
stain stencil.

It is such a fun technique. I did make
more ackgrounds so you will see
more of this!

Have a creative day!


Sunday, February 16, 2014

Sunday Scrap: Love and Spring

Today my scrap pages are also for Club Scrap's Bootcamp
and the challenge is to use torn papers.

Week 7: Love is in the air
and with Valentine'sDay this week,that is
not so difficult.

For these pages I used Club Scrap's retrat 2013 kit.
On the border I added my text and the date
with letters from a Tim Holtz strip die with
the alphabet that is called Vintage Market.

The heart for this photo is cut with a spellbinder die
and the letters are from the same die as on the border.

Cupid is Tim Holtz mini love stuck movers and shapers
die and the hearts are the mini heart stamp by
 Michael Strong decorated with little red gemstones.

Here you also see the torn border for the challenge.

Here is also the page for next week:
Is it spring yet.

Here I used Club Scrap's Bold Bloom paper
and the same letters as I did in the previous page.

This time I tore up all the porder of the paper
around the photo's and used another color to mat the 
torn paper and photo.
Here another close look at the border of this page
where I used some colorful letters to make it look
more like spring.
We are lucky to have this mild winter this year.
I feel sorry for my friends in the UK with so much
rain and my friends in the US with so much snow.
Hope it will soon be over and spring will realy be there.

The tulips are by Michael Strong
I embossed them with green distress embossing powder
and colored them with green and a touch of orange.


Have a creative day!


Saturday, February 15, 2014

Journal52: Love Notes


Another weer and a new page for my Art Journal.
This time the theme was The Lost art of Love Letters.

If you are intersted in doing a page a week, visit
Journal52 promts HERE.

Here is the background to my page:
I started with coloring the background red with distress paints,
but that was just todark so I put a layer of gesso on top 
with a creditcard to soften the color.

Then I used a heart template and a word stamp.
The suitcase stamp by Tim Holtz you may wonder about,why?
Well my husband keeps all my cards in a special vintage
looking suitcase. He needs another one though! ;-)

The enveloppes on the page i made with the envelop punch
board by We R Memory Keepers. And the hearts
I cut out with my spellbinders.

Thanks for looking.

Have a creative day!


Friday, February 14, 2014

Tim Holtz tag 2014 Febuary Valentine


Here is my second tag of this year for the 
 Tim Holtz challenge and because it
is a Valentine tag,why not having it ready on
Valentine's day?!

If you want to see Tim's tag first, go HERE
and see all the instuctions too.

It is always fun to try and make a tag like Tim's
even when you do not have all the right materials.

I made the tag for my DH and he has a mustasche,
so I thouight i would use the mustasche stamp.

First i colored the tag with distress stains
(loving them a lot!).

Using a heart template of my own for the background 
of the tag,with different colors of red distress ink.
And embossing the hearts with clear embossing powder.

The heart die I have and so I cut it from grungeboard,
colored the heart red and added glossy accent on top.
Used fired brick red glitters and let it all dry.

For the arrows i cut these with one of the dies
and embossed the arrows with silver embossing powder.

Meanwhile i also stamped and embossed the mustache stamp
 like a chalk board,but forgot to take a picture.

For the sentiment I ussed Tim's label stamp in red
and a box of abc stamps to make up the sentiment I wanted.

Cutting out the sentiments and distressing them before
adding them to the tag.

The bottom of the tag is a silver cardstock border
from  the vintage lace decorative strip die.


 Have a lovely and creative day!